The most common reason people delay building a personal website is the assumption that it requires days of work, technical skills, or a significant budget. For most people, none of that is true.
This guide walks through how to build a functional personal website with an integrated bio link in a single session — no code, minimal cost, done properly.
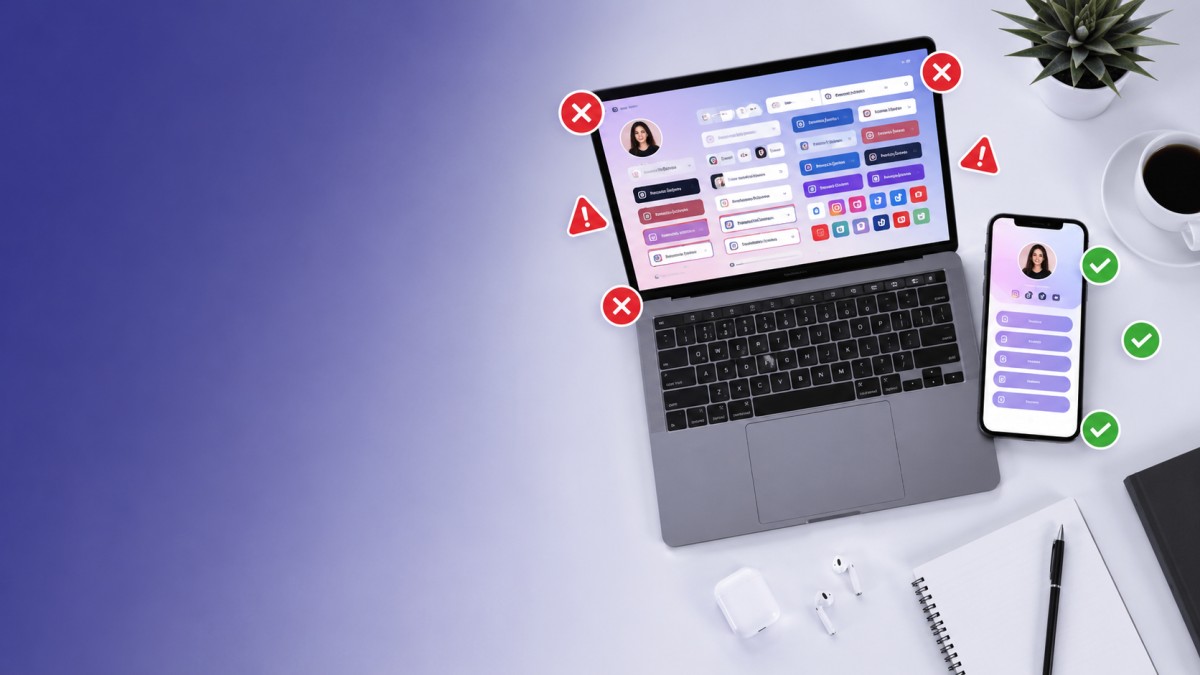
Why Both a Website and a Bio Link
A bio link is the URL you put in your Instagram, TikTok, LinkedIn, or YouTube bio — the one place most platforms allow a clickable link. It leads visitors to a page with your links and basic info.
A personal website is the fuller version: your bio, portfolio or work samples, services, testimonials, and contact options.
The two solve different problems. A bio link captures social traffic and directs it somewhere useful. A personal website can be found through Google, builds credibility with clients and recruiters, and gives you a place to showcase work in more depth.
Platforms like MyEasyPage combine both — a page that works as a bio link and as a standalone professional page. That is what this guide uses as the example.
Before You Open the Builder
One mistake most people make: opening the builder without content ready, then spending an hour staring at placeholder text.
Write these in a document first. It takes 20-30 minutes and makes everything else faster.
Your headline (one line): Your name, what you do, and who you help. Be specific.
Weak: Creative Professional
Better: Arjun Mehta — Logo and brand design for D2C and e-commerce brands
Your bio (100-150 words): What you do, for whom, and what you want them to do next. Mention specific skills or tools that are searchable. End with a clear direction.
Your primary link: The one thing you most want visitors to do right now. Book a call? See your portfolio? Download a resource? This goes first.
3-4 supporting links: Your other platforms, work samples, or secondary actions. Label each one with what the visitor will get, not just what it is. See my last 5 design projects is better than Portfolio.
Your contact info: At minimum, email. In India, WhatsApp is worth adding — many clients prefer it for initial contact.
Step-by-Step: Building on MyEasyPage
MyEasyPage is used here because it handles both bio link and personal page well in one place, with free and affordable paid plans in rupees. The same approach applies to any platform — the structure is what matters.
Step 1: Create your account
Go to myeasypage.com and sign up. Choose a username carefully — it becomes your URL (username.myeasypage.com on the free plan). Use your name or a close variation. Keep it clean, professional, and easy to type.
The free plan gives you: up to 10 links, bio section, social handles, FAQs, testimonials section, contact form, basic analytics. Platform branding is visible on the free plan.
Step 2: Fill in your profile
Full name and headline
Profile photo (clear, reasonably professional — good natural light and a plain background works fine)
Bio text (from what you wrote in the preparation step)
Step 3: Add your links and sections
Start with your primary link at the top. Then add your 3-4 supporting links. Label each one specifically.
Add any other sections that are relevant: services description, FAQs, testimonials if you have them, a contact form.
On the free plan you have up to 10 links. Starter (₹299/year) removes branding. Pro (₹699/year) adds custom domain, SEO settings, booking, shop, and blog posts.
Step 4: Connect your social handles
Add your Instagram, LinkedIn, YouTube, Twitter/X, and any other relevant profiles. These typically appear as icons rather than full links.
Step 5: Preview on mobile before publishing
Open the preview on your phone, not just in the browser. Bio links are 100% mobile traffic. Social media visitors click your bio link on their phone. If it does not look right on mobile, fix it before publishing.
Step 6: Publish
Hit publish. Your page is live.
Total time with content prepared: 30-60 minutes. The preparation step is not included in that — but that 20-30 minutes of writing is the real work. The building part is fast.
After Publishing: What to Actually Do
Publishing is step one, not the final step.
Same day:
Update your Instagram bio with your new link
Update LinkedIn, TikTok, YouTube descriptions
Add the link to your email signature
Post about it once on your main platform — not check out my website but something that gives value to your audience while mentioning the page
First week:
Check that all links work
Ask 2-3 people you trust to look at it on their phone and tell you if anything seems unclear
Ongoing:
Update your primary link whenever you launch something new or have a campaign running
Check once a month that everything is still current
Add testimonials as you get them
What the Free Plan Can and Cannot Do
Being clear about this avoids frustration:
What you can do on the free plan (MyEasyPage):
Have a functional, professional-looking page
Include your bio, links, social handles, contact form, FAQs, testimonials
Up to 10 links
Basic analytics (page views)
The page is publicly accessible and shareable
What requires a paid plan:
Removing platform branding (Starter ₹299/year)
Custom domain (Pro ₹699/year)
SEO settings — meta title, meta description, keyword control (Pro)
Appointment booking (Pro)
Shop for products (Pro)
Blog posts (Pro)
More than 10-15 links (Pro)
For most people starting out, the free plan is enough to have something live and shareable. The question of upgrading is worth revisiting after you have used it for a few weeks and know what you actually need.
Common Mistakes
Adding too many links on day one. Start with your top 5. You can add more later when you actually know what visitors want to click.
Using vague link labels. Every link label should tell visitors what they will find when they tap it. My Work tells them nothing new. See 6 client brand projects (with case studies) does.
Not having a clear primary action. If every link looks equally important, visitors make no decision. One link should visually stand out as the main thing you want them to do.
Skipping the mobile check. Looks fine on desktop, confusing on phone. Always check on an actual device.
Leaving it static for months. A bio link that never changes stops working for you. Update it when your priorities change.
Frequently Asked Questions
Is a bio link or a personal website better?
Ideally both in one place. A bio link captures social traffic immediately. A personal website can rank on Google and give clients and recruiters more context. Platforms like MyEasyPage handle both.
Do I need a custom domain?
Not to start. A free subdomain works fine for testing and initial use. Add a custom domain when you are actively sharing the link and want it to look fully professional. Domain registration costs around ₹800-1,500/year through any registrar.
How long does it really take?
With content prepared: 30-60 minutes. Without content ready: much longer, because you spend the session writing rather than building. Prepare your bio and link labels before you open the builder.
Can the page rank on Google?
Pages on free subdomains can rank — particularly for your name and profession. Custom domain and SEO settings (available on paid plans) build authority faster. To be indexed, submit your URL to Google Search Console after publishing.
What if I change my mind about the platform later?
You can migrate. Content is text, so it is easy to copy to another platform. The main cost is time — rebuilding the structure. Choose something you think will serve you for at least a year before switching.
Summary
Building a personal website with a bio link does not require a developer, days of work, or significant spending. With content prepared in advance, the building part takes under an hour.
The key steps:
Write your headline, bio, and link labels before opening the builder
Add your primary link first — the most important action you want visitors to take
Keep it to 5-7 focused links on the first screen
Test on mobile before publishing
Update it when your priorities change
The best page you can have is one that is actually live, clearly structured, and kept current — not a perfect page that stays in draft forever.